What Tightening Torque Should You Use for a Screw-Terminal Capacitor?
Use the torque specified for the exact COREVIA screw-terminal capacitor and connection hardware. A generic value can damage the terminal or leave an unreliable joint.
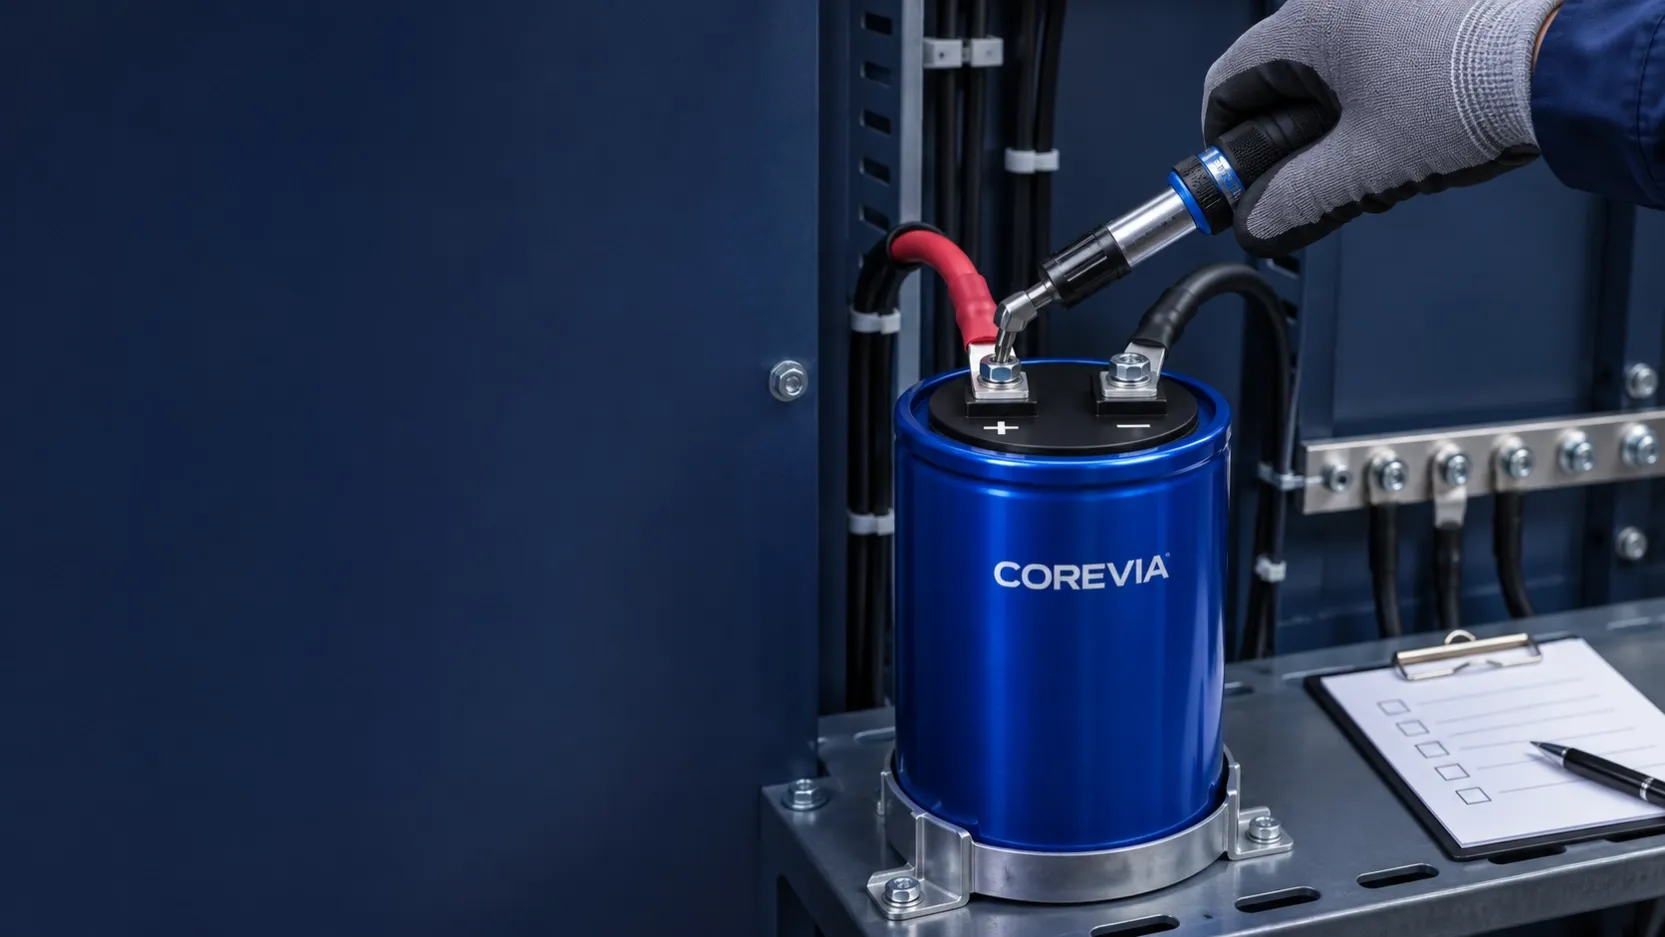
Use the tightening torque approved for the exact COREVIA screw-terminal capacitor, screw and connection stack. There is no safe universal value for every screw-terminal capacitor. Before assembly, confirm the part number and terminal drawing, the supplied fastener, busbar or lug thickness, washer arrangement and the applicable assembly instruction. Record the setting and inspect the completed connection. A value copied from a different capacitor may damage the terminal or leave a loose joint.
Why is one torque value not enough?
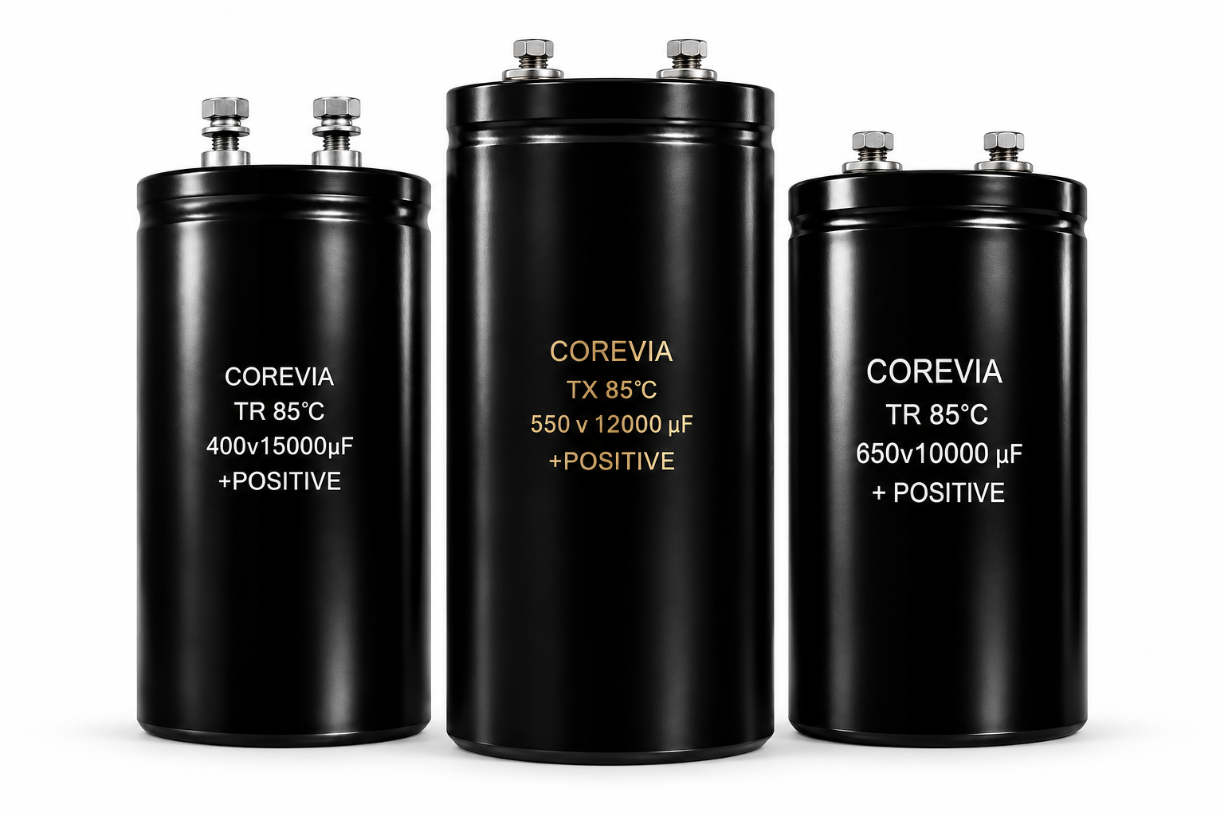
The screw clamps an electrical joint and loads the capacitor terminal mechanically. Too little clamp force can allow a poor connection and heating; too much force can damage threads, the terminal or the internal connection. The approved setting depends on the exact terminal design and hardware stack. The COREVIA screw-terminal capacitor family lists several series; a family overview does not establish a single torque for every part. Request the exact part drawing and assembly instruction before assigning a work order value. Do not transfer torque figures from another manufacturer's guide to a COREVIA part.
| Item to verify | What the assembler needs | Why it matters |
|---|---|---|
| Capacitor identity | Exact COREVIA series and part number | Confirms which terminal drawing applies |
| Connection hardware | Screw, washers, lug or busbar stack | Changes engagement and clamp arrangement |
| Approved torque | Value and unit from the applicable instruction | Sets the tool and acceptance criterion |
| Tool control | Suitable calibrated torque tool and record | Makes the operation repeatable and traceable |
| Final joint | Polarity, seating, alignment and visible condition | Finds assembly errors before energizing |
How should the connection be assembled and checked?
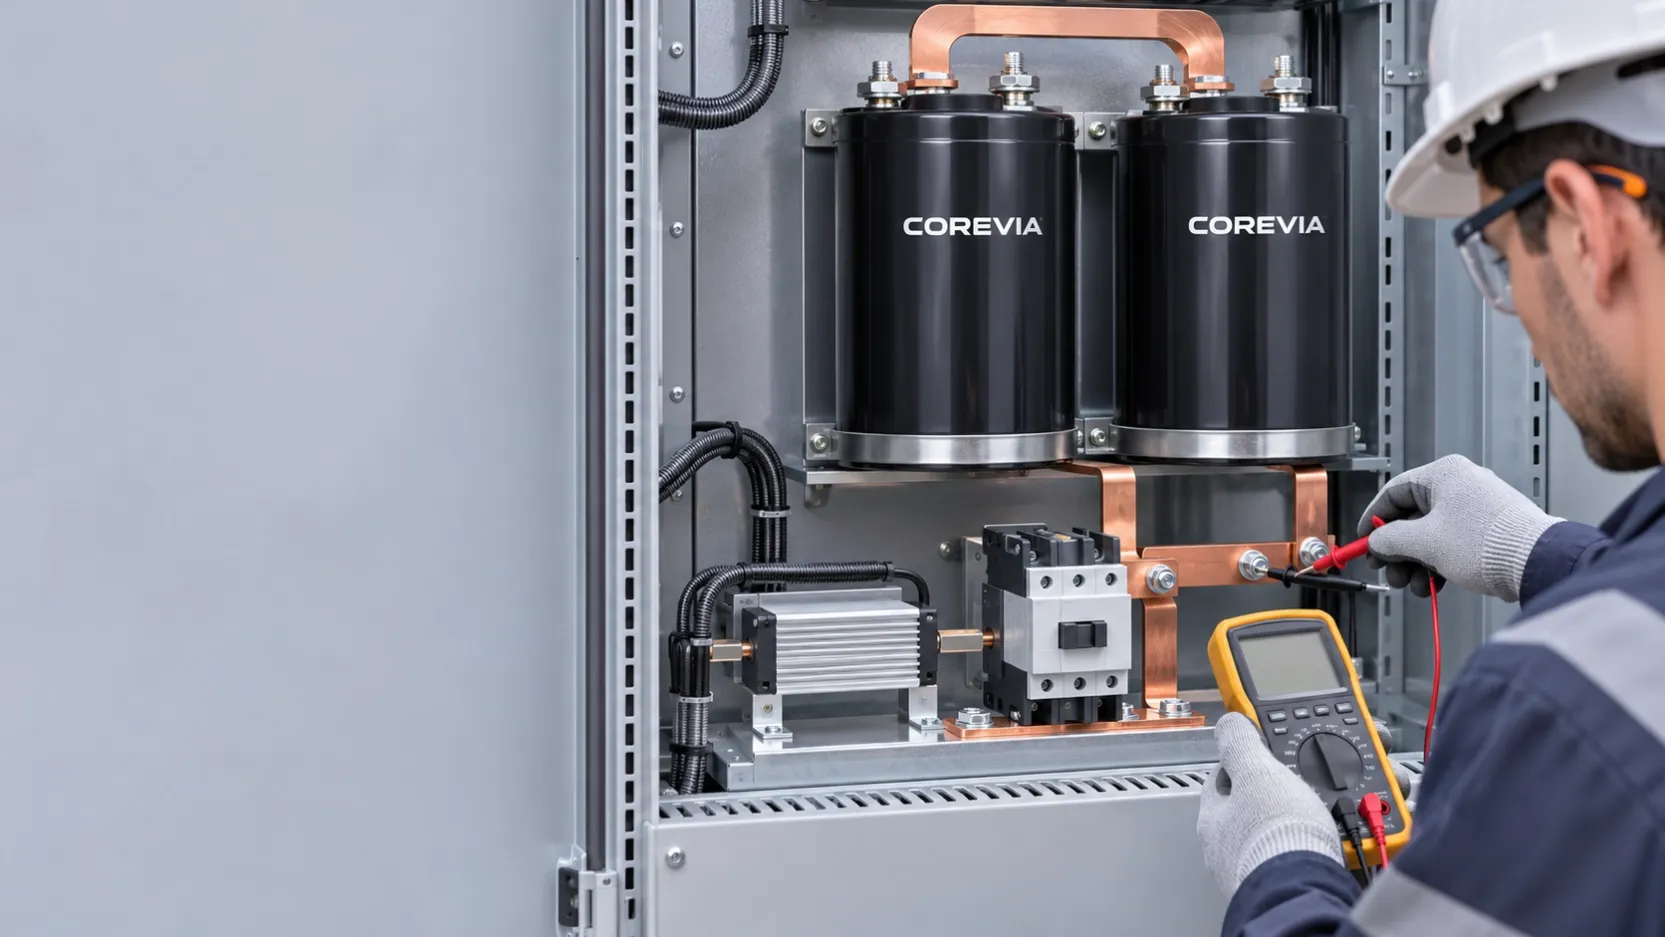
First isolate the equipment and verify that the capacitor bank is discharged by the approved safe-work procedure. Match the terminal polarity and mechanical drawing to the circuit and connector stack. Seat the lug or busbar squarely without forcing misaligned parts into position. Start the fastener by hand so damaged or crossed threads are noticed early. Apply the approved torque with a suitable calibrated tool, following the order and hardware instructions for the actual assembly. Record the part number, tool identification, specified setting and inspection result in the build record. Inspect for a tilted lug, damaged thread, cracked cover or displaced terminal. A joint that turns unexpectedly, will not hold the approved setting or shows damage needs engineering disposition; simply tightening harder is not a repair. If the busbar itself pushes on the terminal, review the separate busbar mechanical-stress guide.
What should you send for a part-specific torque review?
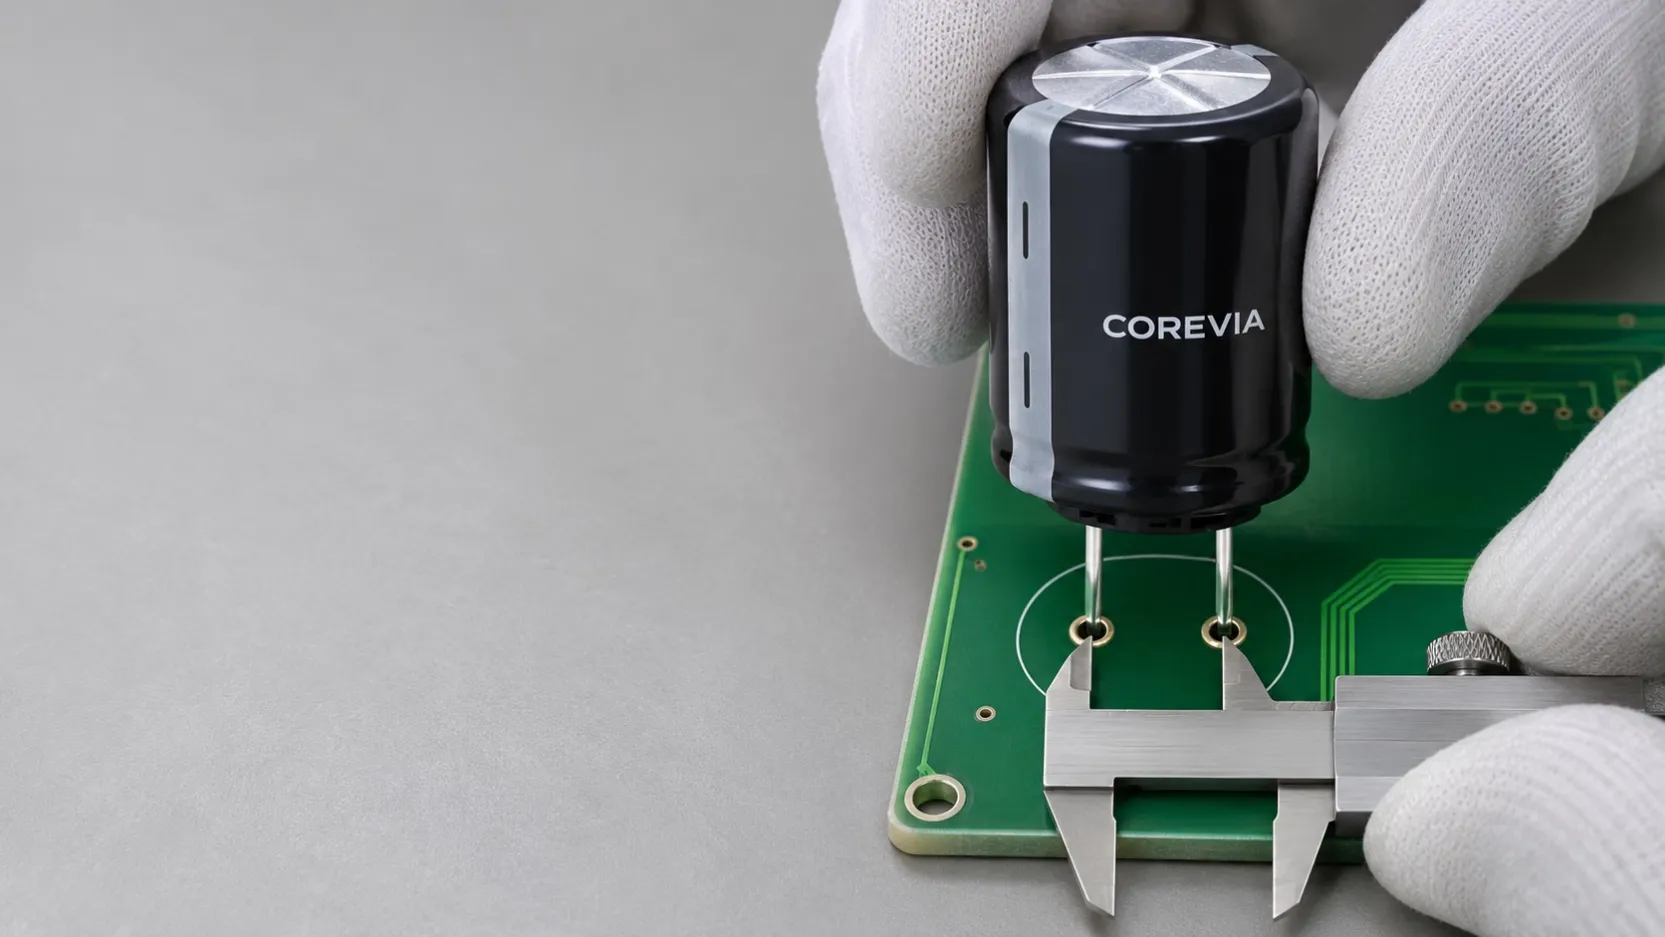
Send COREVIA the exact part number, terminal drawing revision if available, screw and washer details, lug or busbar drawing, proposed tool and assembly procedure, and a clear photo of the connection. Include the requested torque value and its source so it can be checked against the applicable part information. Also document whether the capacitor is supported by a bracket or other mounting method; terminal screws should not become an unreviewed mechanical support. For that separate issue, see the body-clamp installation guide. Submit the details through COREVIA's contact page before production release when the part-specific instruction is missing.
FAQ
Can I use a torque value from another screw-terminal capacitor?
No. Another terminal's published value does not establish a COREVIA specification. Obtain the instruction for the exact part and hardware stack.
Does a calibrated torque tool prove the joint is correct?
No. Tool calibration helps control the applied setting, but polarity, hardware, alignment, thread condition and final inspection still matter.
What if the drawing does not state a torque?
Pause the release of that assembly step and send the part number, hardware stack and drawing to COREVIA for clarification. Do not invent a number or rely on a generic chart.